Welcome Back to the Lab!
Onward, US Ants! The final step to prepare our DNA for sequencing is to perform gel electrophoresis. Gel electrophoresis is a way to visualize the DNA strands and make sure PCR was successful. PCR isn’t foolproof, and sequencing can be a costly process; so there’s no point in sending in samples that potentially didn’t amplify.
Gel electrophoresis works like this: Amplified DNA fragments are stained using a special DNA-binding dye, and loaded into small “wells” or indentations at the top of the gel (we’ll break this down into steps later so it’s easier to visualize). An electric current is run through the gel, with the negative end of the current at the top, near the wells, and the positive end of the current at the bottom. The DNA molecules, which are negatively charged, will “run” towards the positively charged end of the gel.
It’s important to note that DNA molecules have the same charge per mass, meaning that larger DNA fragments will move through the gel at a slower rate than the smaller DNA fragments. This is how we are able to determine the size of the fragments; large fragments will show up as “bands” that are closer to the wells, while small fragments will show up as bands that have traveled further.


The first part of “running a gel” is actually casting a gel! The gel is made of an agarose tablet and a liquid buffer solution that will harden after mixed together. The end result is essentially clear jello!

Once the gel is cast, it is placed in the electrophoresis chamber with more buffer solution (which essentially helps maintain the pH of the reaction once it heats up from the electrical current). A small sample (we’re talking 5μL which is… a drop) of our amplified DNA fragments is mixed with an even smaller (2μL) sample of DNA-binding dye and loaded into the wells, shown above. A steady hand and precision pipetting is required for this step. Not only could the pipette tip puncture the gel (remember, we’re working with Jell-O here), but the liquid buffer solution distorts the the dimension of the wells, making pipetting even more difficult.

Once all the wells are loaded with our stained DNA samples, the lid is placed over the top. The lid contains the positive and negatively charged electrodes (negative at the top and positive at the bottom) that will run the current through the gel.
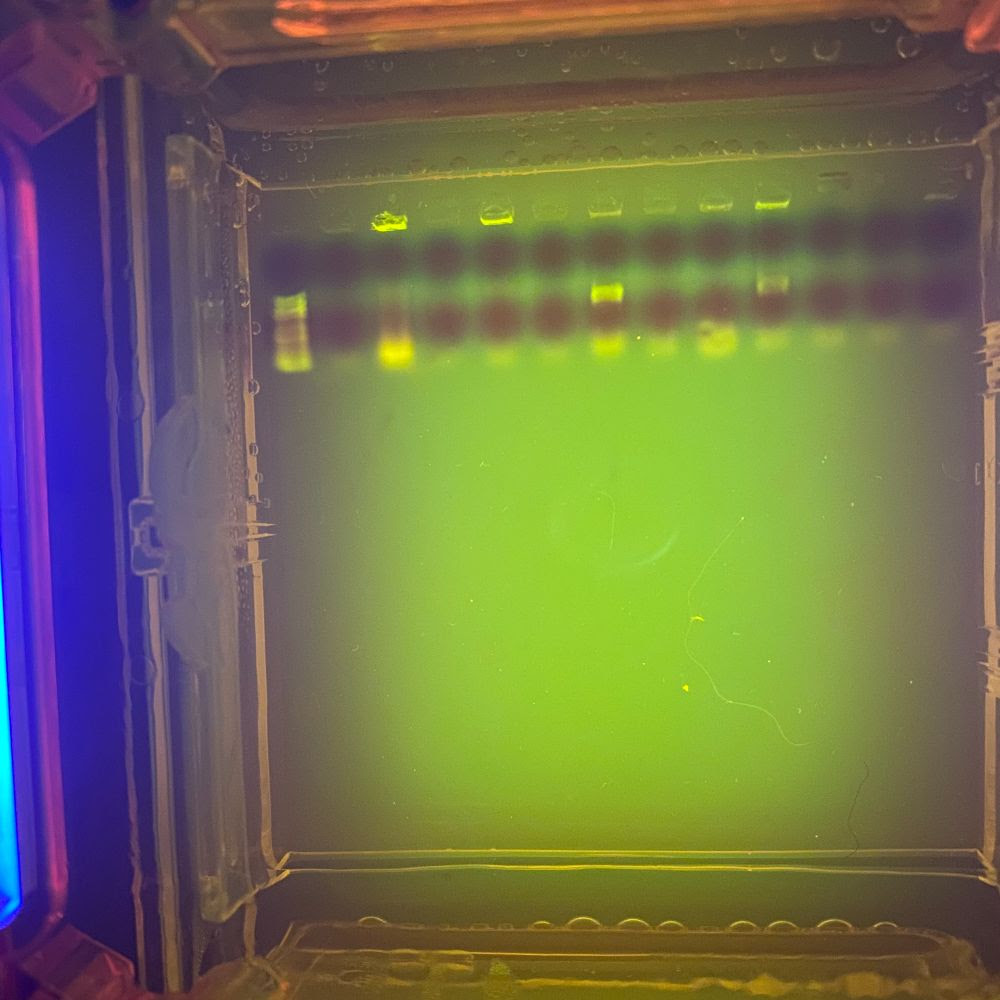
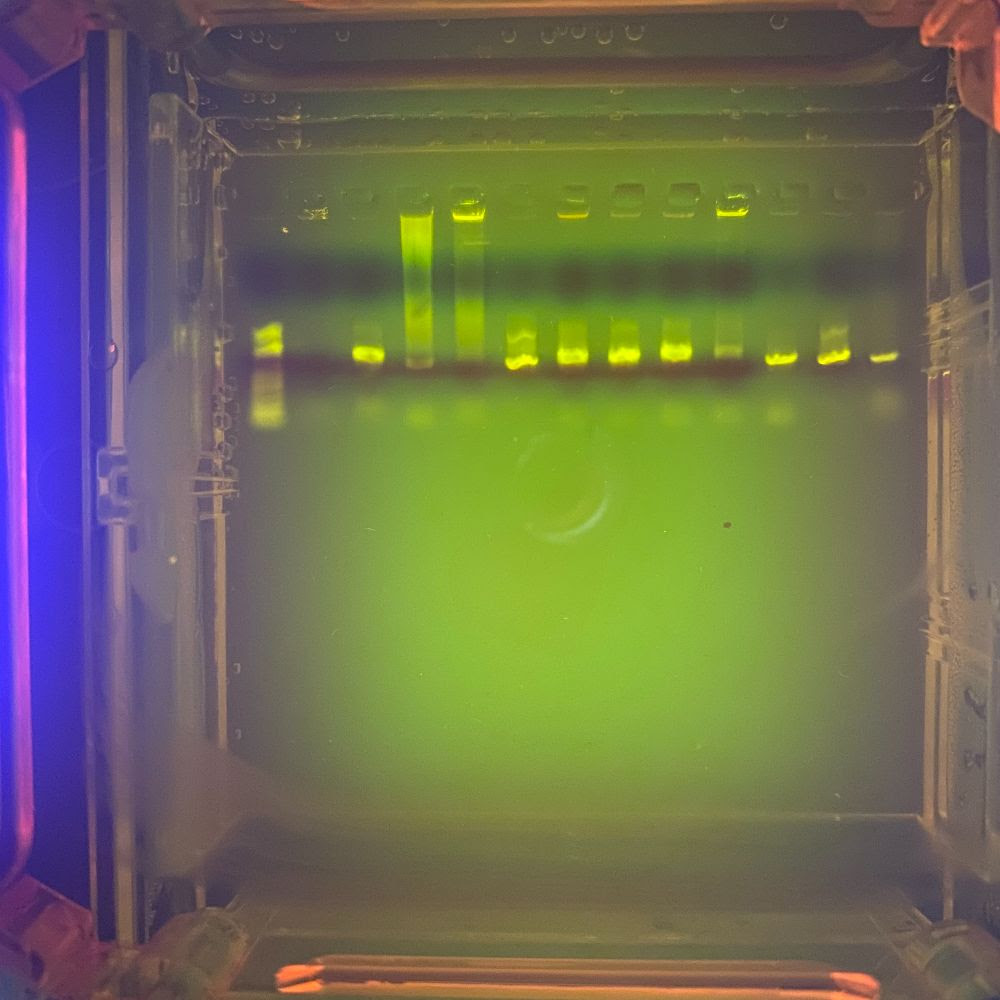
When the gel is finished running, the DNA fragments can be viewed with a UV light; they will show up as the neon green-yellow bands seen above. On the far left well is a ladder; essentially a reference point that can be used to measure the length of the fragments. The first gel shows very few bands, meaning PCR was, for the most part, unsuccessful for the majority of samples. Using this method, we know which samples to send in for sequencing. The second gel shows significantly more bands, meaning PCR was largely successful for that particular sample set.
Next week, in our conclusion to Barcoding US Ants, we will cover the results from last season’s collection efforts and what it means for the future of the project.
Until next time, thanks for visiting the lab!
Bug Wrangler Brenna
brenna@missoulabutterflyhouse.org
If DNA workshops sound like something you’d like to participate in, then stay tuned! After all, Barcoding US Ants is a community science project, and we want to involve you, the community. For more questions, email me at brenna@missoulabutterflyhouse.org and put “Barcoding US Ants” in the subject line